Support/integrations

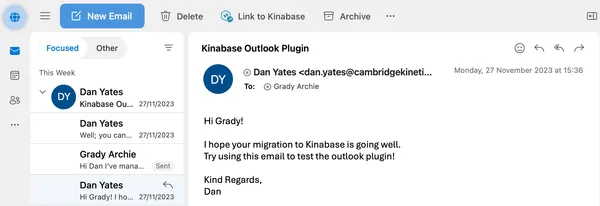
Installing Outlook Add-in
For Windows / Web
Installation
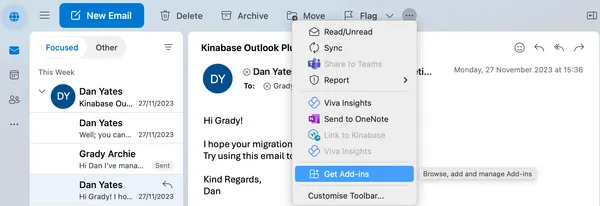
- Go to your inbox and select an email.
- Click the in the top right of the email.
- Select the Get Add-ins option.
- Type "Kinabase" into the search bar and press enter.
- Click add button on the Link to Kinabase entry and then click confirm.
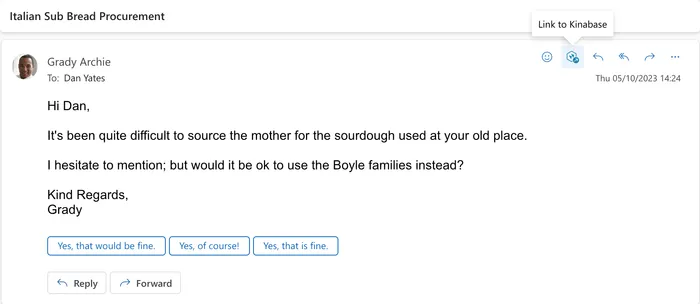
Usage
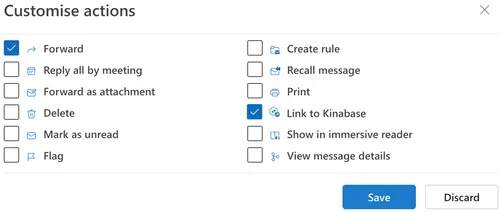
To ensure the "Link to Kinabase" button is always visible in the quick actions at the top next to reply / forward, follow these steps:
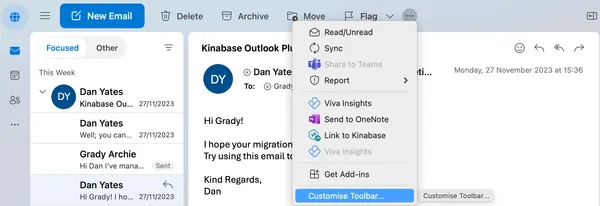
- View an email, and then click the to show the menu.
- Click the "Customise Actions" button.
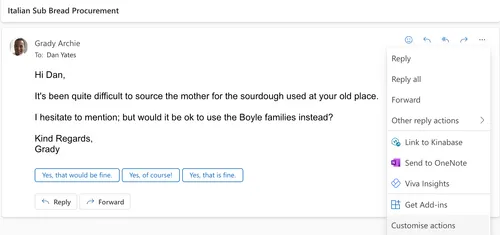
- Check the "Link to Kinabase" box.
- Click the Save button.
For Mac
Installation
- Go to your Outlook for Mac client, in the Toolbar click the .
- Select the Get Add-ins option.
- Type "Kinabase" into the search bar and press enter.
- Click add button on the Link to Kinabase entry and then click confirm.
Usage
To ensure the "Link to Kinabase" button is always visible when you are viewing an email, follow these steps:
- View an email, and then click the to show the menu.
- Click the "Customise Toolbar..." button.
- Click and drag the "Link to Kinabase" button to the toolbar.
- Click the "Done" button.
- The Link to Kinabase button should now show at the top of your screen