Managing Colleagues
Kinabase was designed to facilitate collaboration across your organisation.
The following article explains how to invite and keep track of your colleagues. It explains how you can tailor your Kinabase to fit your organisation's needs, by ammending your Colleagues Collection and adjusting the User Settings.
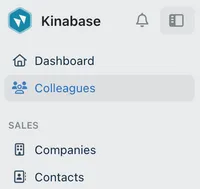
The Colleagues Collection:
- Sits in the sidebar, underneath your Dashboard.
- View and add information on all your colleagues who are also using Kinabase.
- Invite new users to your Kinabase.
- Configure your settings to add fields, add roles, and choose who can view the colleagues list.
The User Settings:
- Contain information about your colleagues for your Kinabase system.
- Also lets you invite new users.
- Change your users' administrative access from regular user to billing or system admins, and back again.
- Manage existing liscences, and deactivate the liscences you no longer need.
How to add your colleagues to Kinabase
Once you've created your Kinabase, you can invite your colleagues and create additional users.
To invite a new colleague, you can either:
- Open your Colleagues Collection, and click on the blue Invite button in your toolbar, or
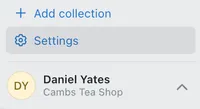
- Open settings in the sidebar, and then go to 'Users' and click on the blue Invite button.
Once you have clicked on the Invite button, you will be able to fill out your colleague's name and email address, as well as specify what roles they do within your organisation, and what kind of administrative access you'd like them to have on Kinabase.
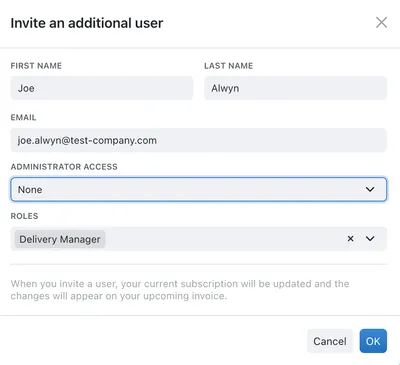
Once you're happy with the information you've entered, click OK and your colleagues will be added as an additional User to your Kinabase.
They will recieve an email invitation within a few minutes, with a link to get started on Kinabase.
After they've registered, their status in User Settings will change from Invited to Active, and they will appear in your Colleagues Collection.
Congratulations! You and your colleagues can now collaborate using Kinabase!
The Colleagues Collection
The Colleagues Collection is created by default when you first join Kinabase.
It sits in your sidebar, underneath your Dashboard.
It's designed to store all the relevant business information on the members of your organisation, like their job titles and email addresses. Because we want Kinabase to fit your organisation's needs, you can adjust the Colleagues Collection to store only the information that's really relevant.
Adding More Information to the Colleagues Collection
Initially, your Colleagues Collection will provide fields for Name, Job Title, Email, and Roles.
But you may find you want to store more detailed information about the memebers of your organisation. You can do this by:
- Opening the Colleagues Collection from your sidebar.
- Clicking on the options menu to the right of your toolbar.
- Opening Configure.
From here, you can:
- Add, modify, or remove fields in your Colleagues Collection.
- Add, modify, or remove roles.
- Access permissions, to manage who can view the colleagues list.
Here are some examples:

The User Settings
The User Settings are the 'behind the scenes' for your Kinabase users. You can use these settings to manage the system information (the information relevant to Kinabase) on the members of your organisation.
To access the User Settings, open Settings in the sidebar, and then go to 'Users'.
Deactivating licenses for users you no longer need
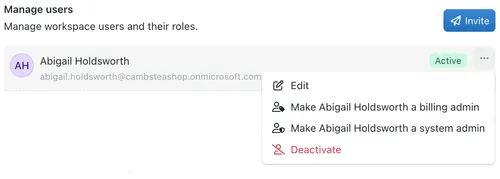
If you wish to deactivate a user, whether they no longer work at your organisation or no longer need Kinabase access, you can do this in your User Settings through the options menu to the right of the user.
Once deactivated, your colleague will no longer be able to access their Kinabase account. You will stop being billed for their account in the next billing cycle.
Adding and removing Billing or System Admins
From the User Settings page, you can also change your users' administrative access.
See more about what this means here: Roles Introduction.
Once you click to change your user from a regular user to a billing or system admin, the access change will take effect immediately.
If you made a mistake or you want to remove access from a user, you can follow the same steps to change them back to a regular user.