Kinabase provides flexible ways to bring data in (import ImportThe process of bringing external data into Kinabase, typically from CSV or spreadsheet files.
) or take data out (export ExportThe process of extracting data from Kinabase into a file format such as CSV for use elsewhere.
) - perfect for migrating from spreadsheets, creating backups, or collaborating with external systems.
You can manage these actions from Settings → Import / Export or within individual collections CollectionA list of records in Kinabase, similar to a table in a spreadsheet or database.
.
For advanced setup, you can also let AI suggest data structures from your existing spreadsheets and files.
Method A: Via the Settings Page
- Open Settings
- Click your name or the cog at the bottom-left corner.
- Select Settings from the menu.
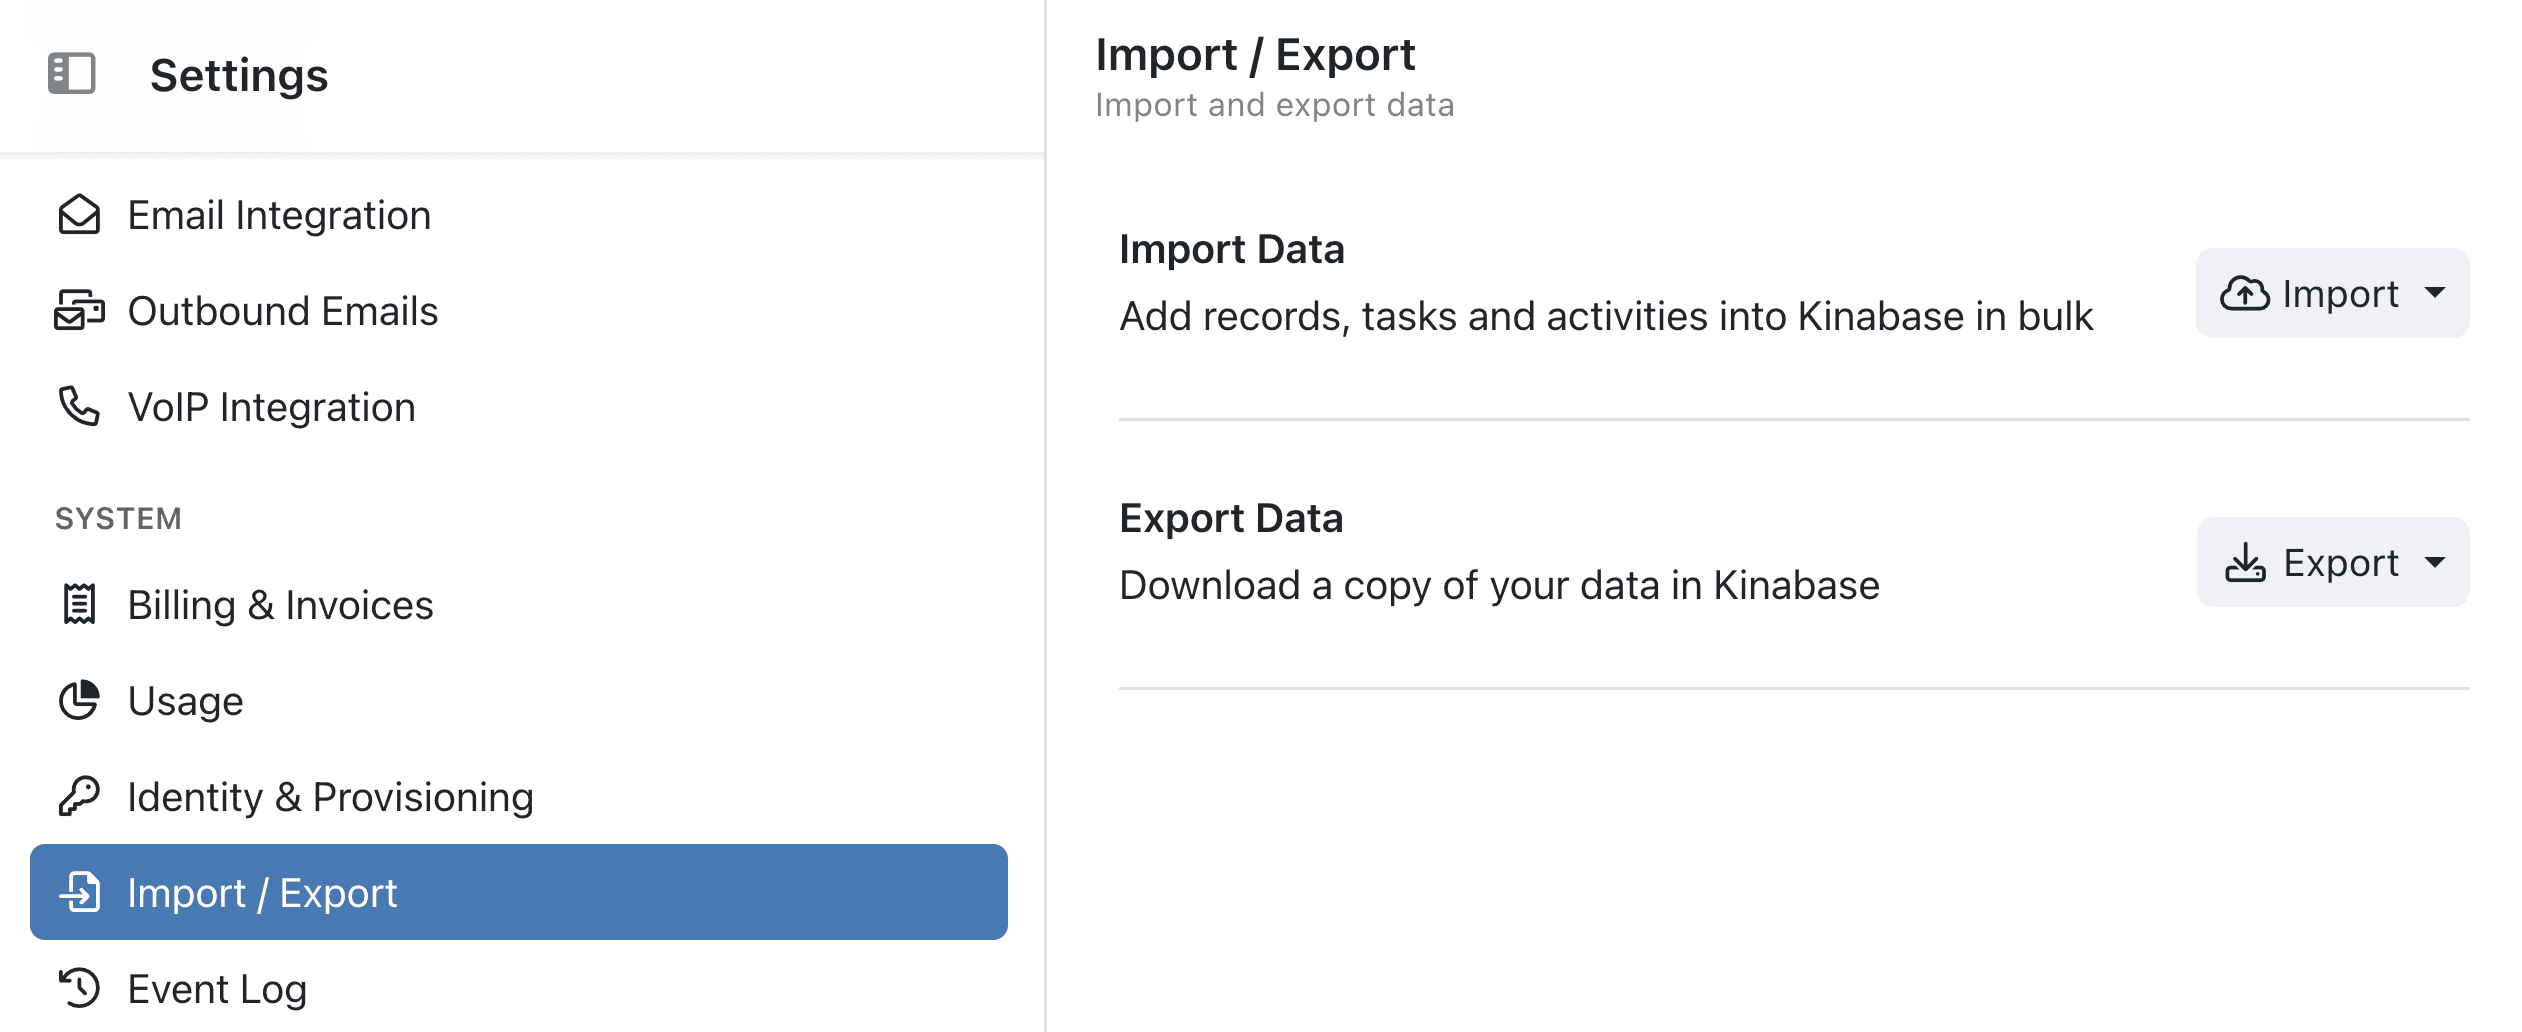
- Select 'Import / Export'
- In the System section, find and click Import / Export.
- Select an Action
- Import: Records
RecordAn individual entry within a Collection, like a row in a database table, representing one item or entity.
, Activities ActivityA log of what's happened. This could be an event or note related to a Record, such as an email, call, or meeting.
, Tasks TaskSomething that needs to be done. Create and assign tasks to yourself or others, often linked to a specific Record.
, or Data Structures. - Export: Everything, or individual items like records, tasks, or data structures.
Only System Admins have default access to this page. Admins can grant additional permissions PermissionA specific right to view, edit, delete, or administer parts of Kinabase, granted via Roles.
in Settings → Users.
Method B: Directly from a Collection
Method B: Directly from a Collection
- Open the Collection
- Use the sidebar to pick your target collection.
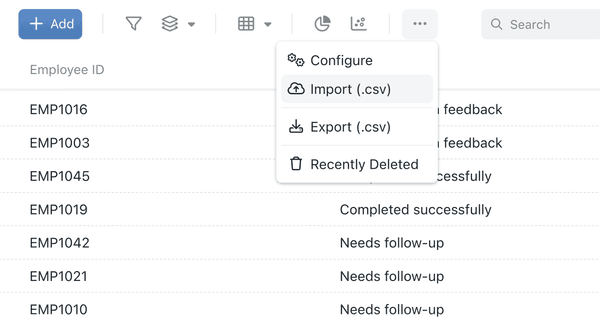
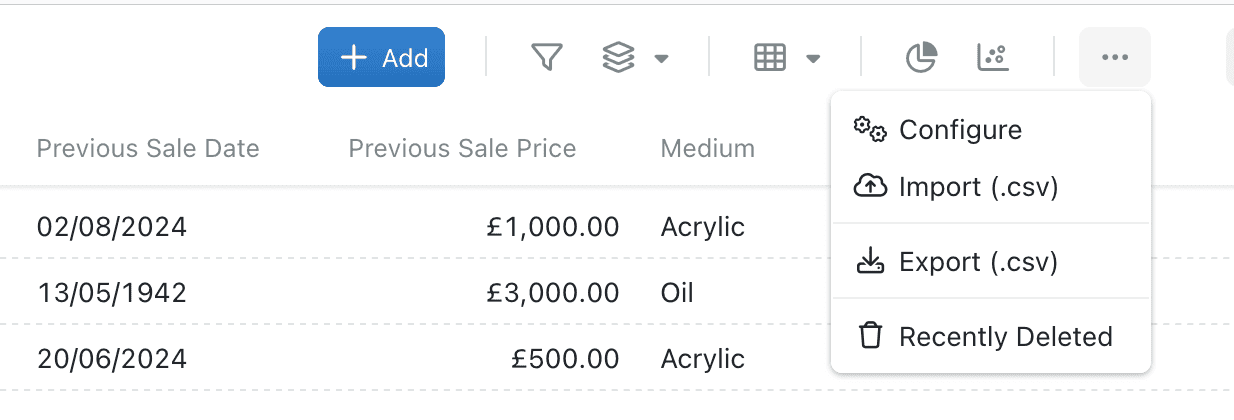
- Click the ⋯ (options menu) in the top-right.
- Choose Import (.csv) or Export (.csv) for record-based data.
- This is handy for simpler tasks or focusing on a single collection at a time.
Method C: From a Linked List Table
You can also import or export rows directly from a linked list table on a parent Record RecordAn individual entry within a Collection, like a row in a database table, representing one item or entity.
's detail tab (for example, line items on an invoice, or tasks on a project).
- Open a record that has a linked list table.
- On the table's label row, click the ⋯ options menu.
- Choose Import (.csv) to upload a CSV file.
- Choose Export (.csv) to download the linked lists.
- If the table is empty, an inline Import (.csv) button is shown next to the Add button.
Every imported row is linked to the parent Record automatically. The parent field is hidden from the field-mapping step, so there is no risk of pointing rows at the wrong parent. Exports only include records belonging to the parent Record you are viewing.
2. Importing Data
(Includes Records, Activities, Tasks)
- Prepare Your CSV
- Make sure your csv columns match the fields
FieldA column in a Collection that stores a specific type of information for each Record, such as text, number, or date.
in your collection (e.g., Name, Email, Status). - For updates to existing records, include an ID or unique identifier column.
- Initiate Import
- Either go to Settings → Import / Export → Import → Records or open the collection’s ⋯ menu and pick Import (.csv).
- Map Fields
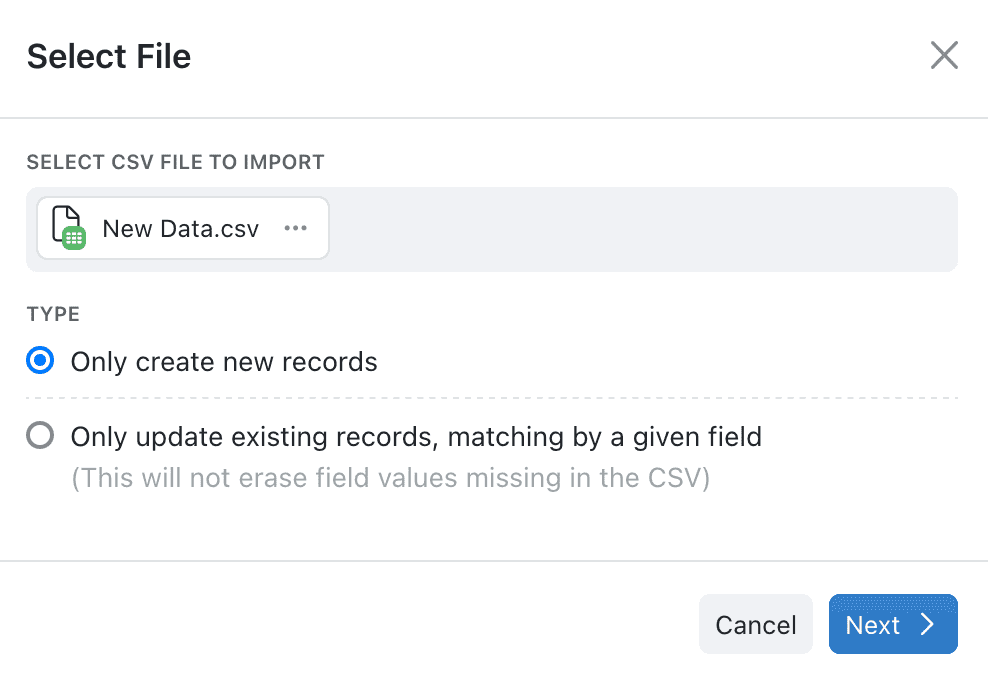
- Select your CSV file, then match each CSV column to a Kinabase field.
- (Optionally) Only Update Existing Records
- Check 'Only update existing records' and specify a key field.
- Great for bulk updates without creating duplicates.
- Click 'Next' to confirm.


2.2 Importing Record Change History
This is similar to importing records, but includes historical timestamps for field changes.
- Prepare your CSV
- Make sure your csv columns match the fields
FieldA column in a Collection that stores a specific type of information for each Record, such as text, number, or date.
in your collection (e.g., Name, Email, Status). - For historical updates to existing records, ideally include an ID or unique identifier column.
- Make sure to include a 'Timestamp' column formatted as dd/mm/yyyy hh:mm:ss.
- Initiate Import
- Open the collection’s configuration ⋯ menu and pick Import (.csv)
- Upload your CSV file by dragging & dropping it into the window, or use file explorer (Windows) or finder (Mac)
- or go to global Settings → Import / Export → Import → Records or
- Choose your Import Type
- Select “Import historical values for matching records.”
- Choose the CSV column and collection field to match with
- Set a fixed timestamp if appropriate.
- Assign Fields
- Match each CSV column to a Kinabase field.
- Click Next
- Your import will begin processing & give you a success message when complete.
You can now see historical changes to record field values in the Activity timeline of each record.
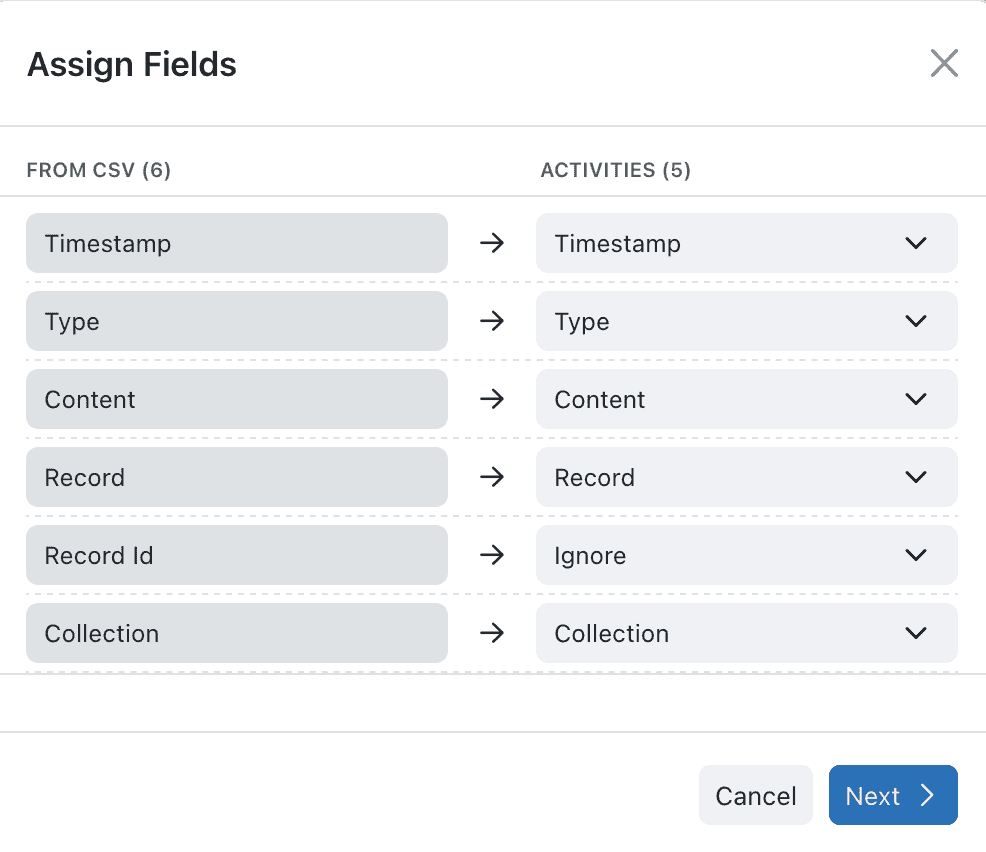
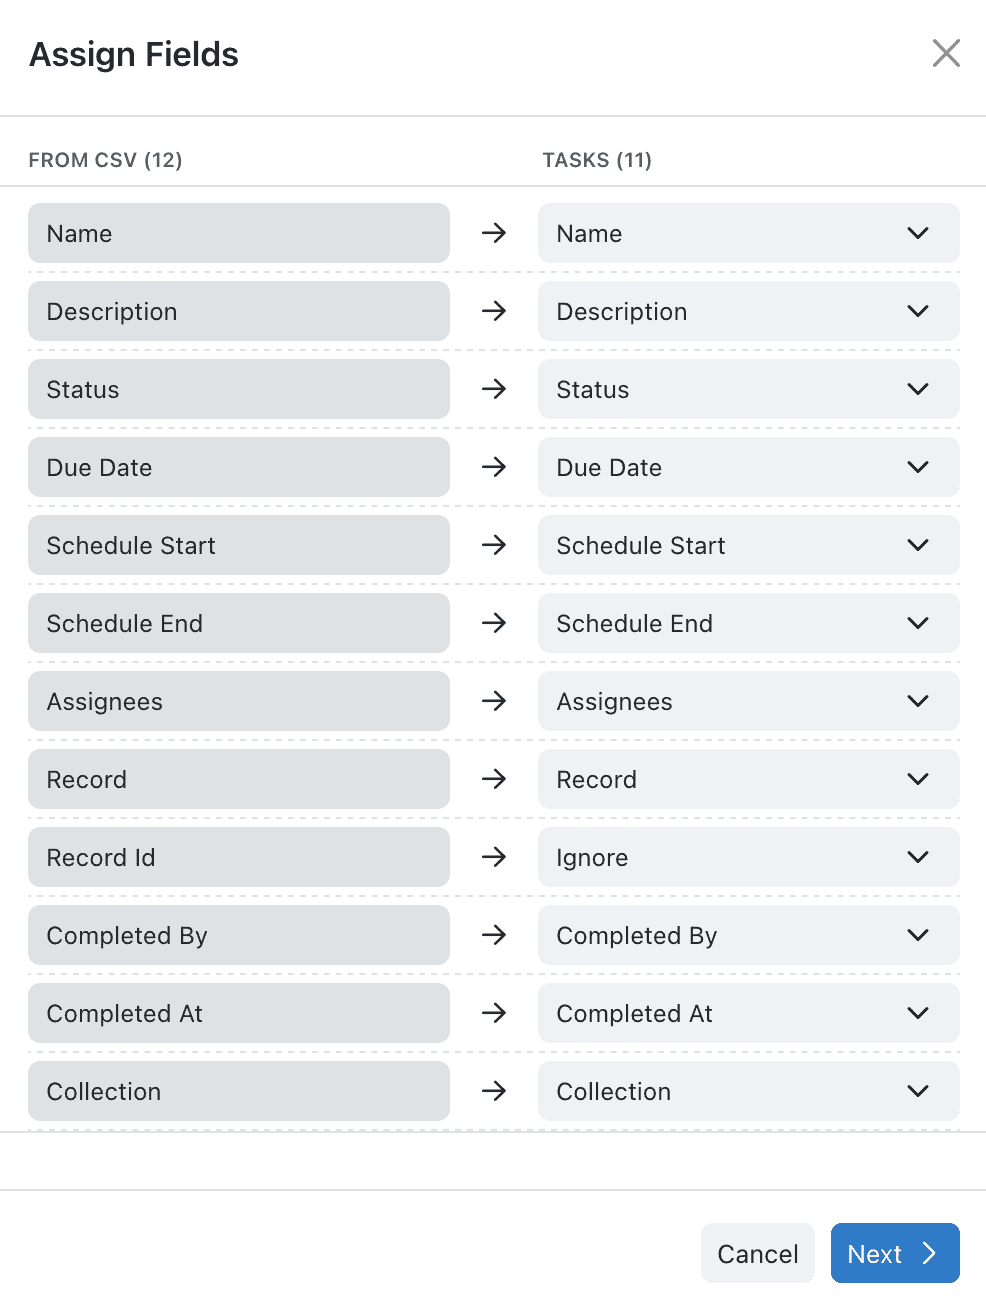
2.3 Importing Activities or Tasks
- Activities: Logs of notes, emails, phone calls, or system updates.
- Tasks: Action items linked to records, with columns like Task Name, Description, or Due Date.
- Open Import in Settings
- Import → Activities or Import → Tasks.
- Select the CSV
- Map Required Columns
- e.g., Linked Record, Activity Type, Created By for Activities.
- e.g., Task Status, Due Date, Assignees for Tasks.
- Review & Confirm
- Click Next/Import to save changes.
Importing tasks from older systems helps maintain continuity for due dates, owners, and completion logs.
2.4 Importing Data Structures
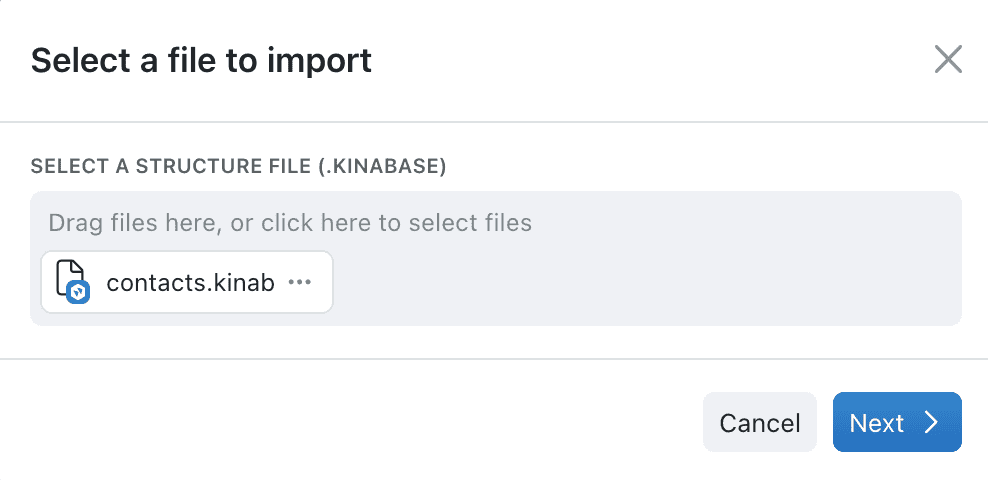
If you have a .kinabase file (exported from another Kinabase environment or provided by support):
- Go to 'Import / Export'
- Import → Data Structures.
- Select File & Confirm
- This creates a new collection or updates an existing one based on the structure in the .kinabase file.

3. Exporting Data
3.1 Exporting via Settings
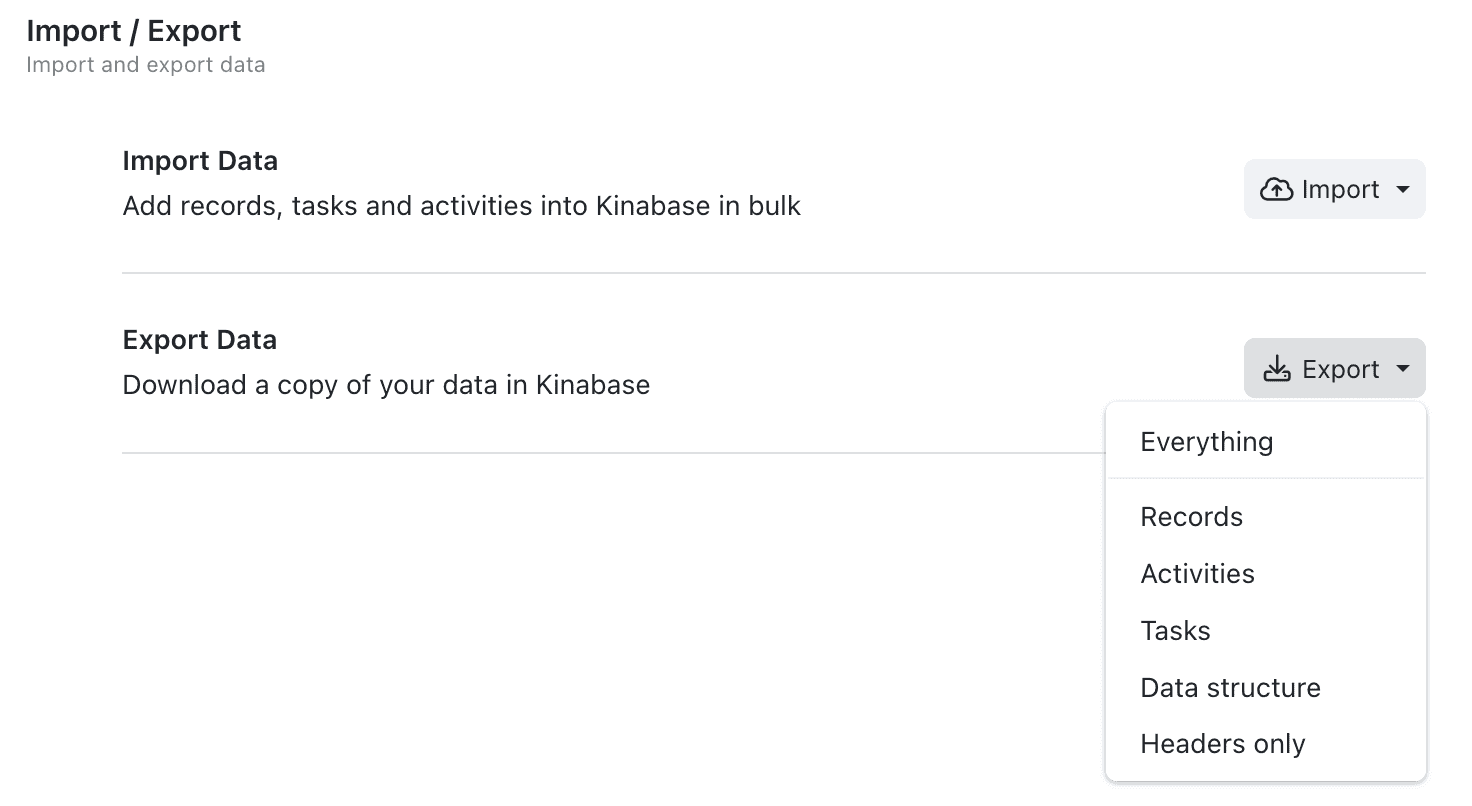
- Open 'Import / Export' in Settings.
- Choose an Export Option
- Everything: Creates a .zip with all records, tasks, activities, data structures.
- Records / Activities / Tasks: Exports each item type to a .csv.
- Data Structures: Creates .kinabase files for your collections.
- Headers: Only exports the column headers as a .csv for template creation.
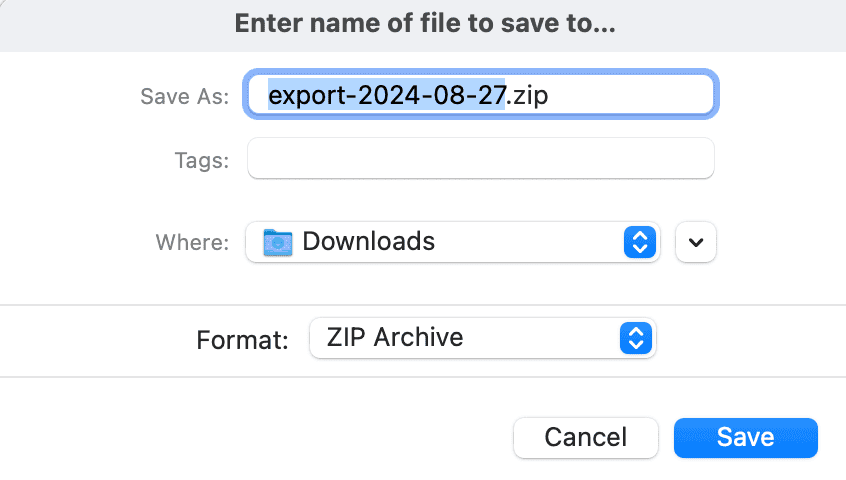
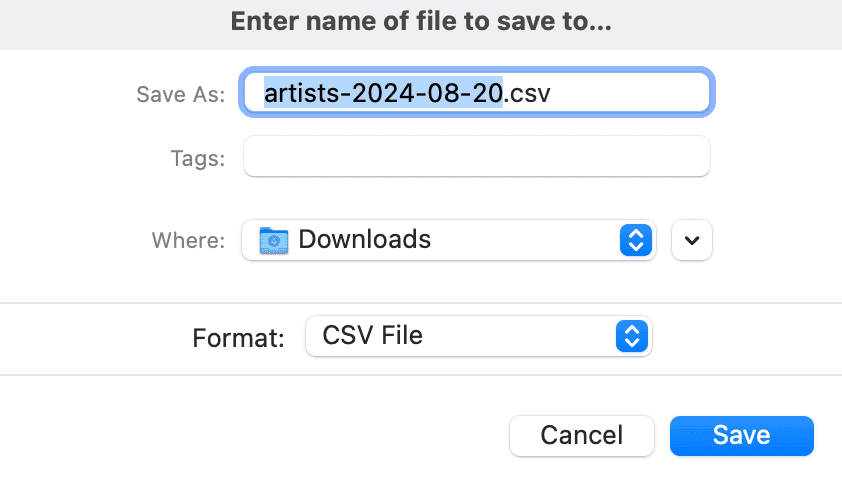
- Save Locally
- Name your file and store it in the desired location.
3.2 Exporting Directly from a Collection
- Go to Collection
- Use the sidebar to pick the relevant collection.
- Select '⋯' → 'Export (.csv)'
- Name the file, pick where to save, and confirm.
When this is handy:
For quick backups or analysis in Excel/Google Sheets.
4. Creating Collections Using AI
4.1 Creating Collections from Spreadsheets or Photos
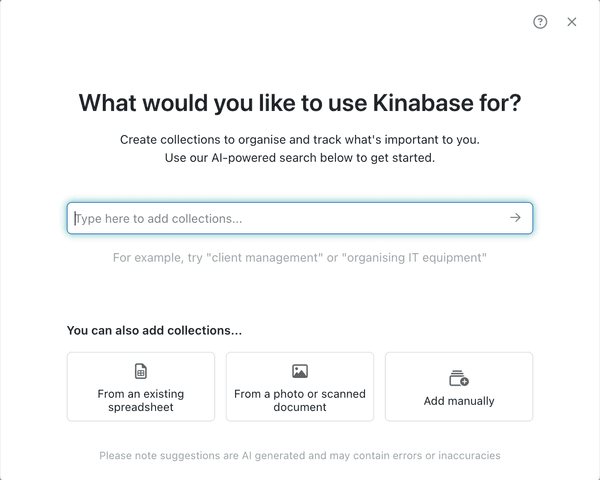
When adding a new collection via + Add Collection, Kinabase’s AI can scan your CSV or photo to suggest fields automatically:
- Click '+ Add Collection'
- Pick From an existing spreadsheet or From a photo/scanned document.
- Upload File
- The AI analyses your data, proposing field names/types.
- Refine & Confirm
- Delete or adjust any fields if needed.
- A new collection is created with these fields.
- Kinabase can also import your initial records if you choose to.
This drastically speeds up setup for new collections, making your data ready to use immediately.
5. External Backups
5.1 Scheduling Daily External Backups
On the Max plan, you can schedule a nightly External Backup that delivers a complete workspace archive to an external storage library you control. Each archive contains your records, activities, tasks, and workspace setup, packaged as a single ZIP.
- Connect a storage library
- Make sure at least one external storage library is connected under File Storage settings.
- Open the External Backups panel
- Go to Settings → System → Import / Export and find the External Backups panel.
- Click 'Configure'
- Toggle Enable daily backups on.
- Pick a Backup destination from your connected external storage libraries.
- Choose a retention period
- Options: 7 days, 14 days, 30 days, 60 days, 90 days, 365 days, or Retain forever.
- Older archives are cleaned up automatically once they fall outside the retention window.
- Save your settings
- Backups run nightly at 02:00 UTC.
Manual runs and history
- Use Run backup now at any time, for example before a major configuration change.
- Click View recent runs to see the latest backup runs, check their status, or open an archive directly in your storage library.
External Backups complement Kinabase's standard platform backups - they give your organisation an independent copy of your data in storage you own.
Troubleshooting Imports
- Especially when updating existing records, export a CSV as a backup in case anything overwrites incorrectly.
- Keep an eye on import or export logs to confirm success.
- If your CSV is large, you might want to consider splitting it into more manageable chunks.
- We recommend quickly build new collections from spreadsheets or photos using AI to accelerate setup.
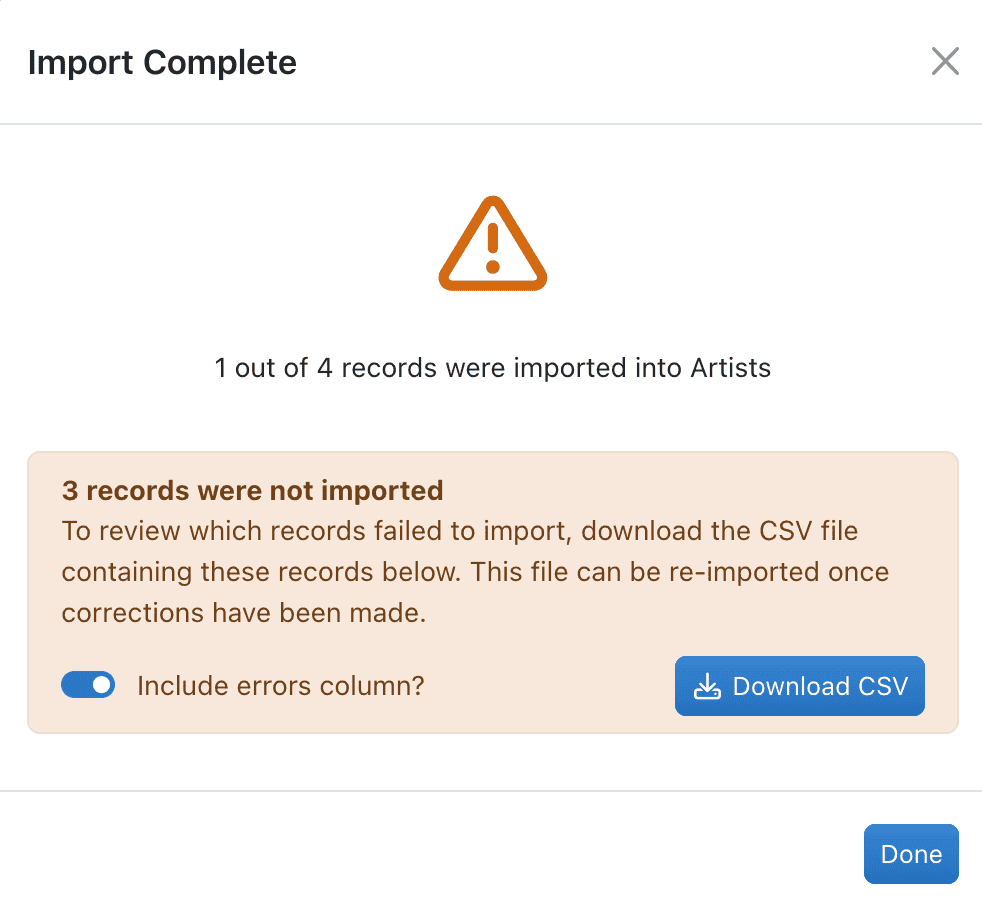
Failed Import Prompt
If any records can’t be imported, Kinabase prompts you to re-download a CSV containing only the problematic records.Include Errors Column
Check the box Include Errors Column. This adds a column describing why each row failed (e.g., invalid field value).Example
If 'Botswana' doesn’t exist in your 'Countries' collection, the error message might say 'Value not found in linked field.'Solution
Either fix the row (change 'Botswana' to an accepted value) or add a 'Botswana' record in your 'Countries' collection. Then re-import.

Avoiding Duplicate Records
Skip Duplicate Records
In the Assign Fields window, select Skip Duplicate Records.
This prevents reimporting lines that already succeeded on a previous attempt.
Using Import & Export features in Kinabase lets you efficiently migrate data, bulk-update records, align external systems, and build new collections with AI assistance.
If you need more advanced customisation or run into persistent errors, contact our Support Team or your System Admin.