Set Up Your Organisation
Customise Your Kinabase Experience
Configuring your organisation's details and branding in Kinabase helps ensure that your workspace reflects your identity - both visually (via logos and brand colours) and operationally (with the correct date/time formats and registration info).
1. Access Organisation Details
- Open Settings
- Click your name or the cog at the bottom-left corner of Kinabase.
- Select Settings from the menu.
- Select 'Organisation Details'
- Under Organisation, choose Organisation Details to view the main configuration page.
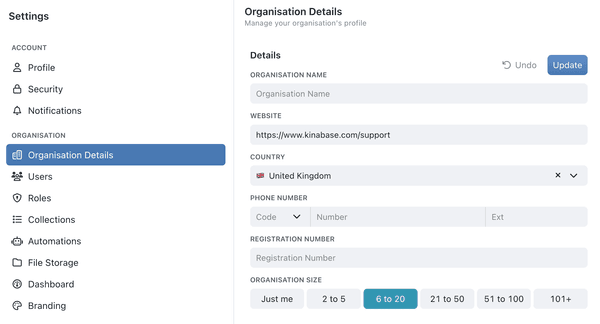
2. Fill in Basic Organisation Information
Within Organisation Details, you'll see fields
- Organisation Name: Displayed throughout Kinabase.
- Website: A direct link for reference.
- Country: Sets your default region settings.
- Phone Number & Registration Number: For official or legal references.
- Organisation Size: Choose the range that best represents your team's scale.
Having correct contact and registration details helps your team and potential auditors quickly verify organisational info.
3. Upload Your Company Logo
- Scroll to 'Organisation Logo'
- Click Upload Logo.
- Choose an image (ideal resolution: 512 × 512 px; max file size: 2 MB).
- Preview & Save
- Once uploaded, the logo will appear on your dashboards Dashboard(like the home tab), reinforcing brand identity.A page you configure with widgets, charts, and reports to monitor key metrics and data at a glance.
- Once uploaded, the logo will appear on your dashboards
Showcasing a consistent brand fosters familiarity across your internal tools, especially helpful for larger teams or external stakeholders.
![]()
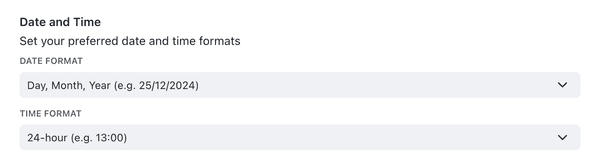
4. Date & Time Format
Below the logo section, you can set:
- Date Format: Day/Month/Year or Month/Day/Year.
- Time Format: 24-hour or 12-hour clock.
Align date/time formats with your regional norms to reduce confusion across global teams.
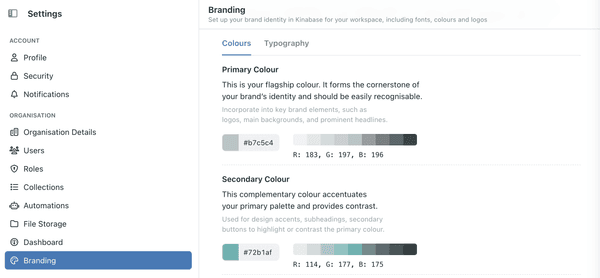
5. Advanced Branding
For more detailed brand configuration - including multiple brand identities, custom colour palettes, and typography settings - see our dedicated Brand Guide documentation.
The Brand Guide allows you to:
- Upload brand logos and automatically generate colour palettes
- Configure primary, secondary, and accent colours
- Set custom fonts using Google Fonts
- Define typography styles for headings and paragraphs
- Manage multiple brand identities for different use cases
To access the Brand Guide, click your user icon in the bottom-left corner and select Brand Guide. Team members can view approved colours and fonts for use in proposals, documents, and marketing materials.
Read our Brand Guide for complete setup instructions.
6. Saving & Applying Changes
- Click 'Update'
- On the right-hand side of your screen next to the section you have changed, to confirm your changes.
- Or 'Undo' if you made a mistake and would like to revert your changes.
- Check Your Dashboard
- You should see your logo on the main dashboard page now.
- Date/time formats will apply across records Recordand tasksAn individual entry within a Collection, like a row in a database table, representing one item or entity.Task.Something that needs to be done. Create and assign tasks to yourself or others, often linked to a specific Record.
Customising your organisation's details and branding lets Kinabase become an extension of your brand's identity. Whether you're a small team or a global enterprise, these settings make the platform feel comfortable, consistent, and ready to support your day-to-day operations.