Invite Users & Licenses
How to Invite Team Members and Manage Licenses
Kinabase is most powerful when your whole team collaborates in real time, ensuring your team always has access to important information.
Where to Invite Users
You can invite users from either:
- User Settings (located under Settings → Users).
- Colleagues Collection (found in the sidebar under your Dashboard Dashboard).A page you configure with widgets, charts, and reports to monitor key metrics and data at a glance.
Both methods lead to the same invite form, letting you add a user's name, email, and role
How to Invite a New User
1. Go to User Settings or your Colleagues Collection.
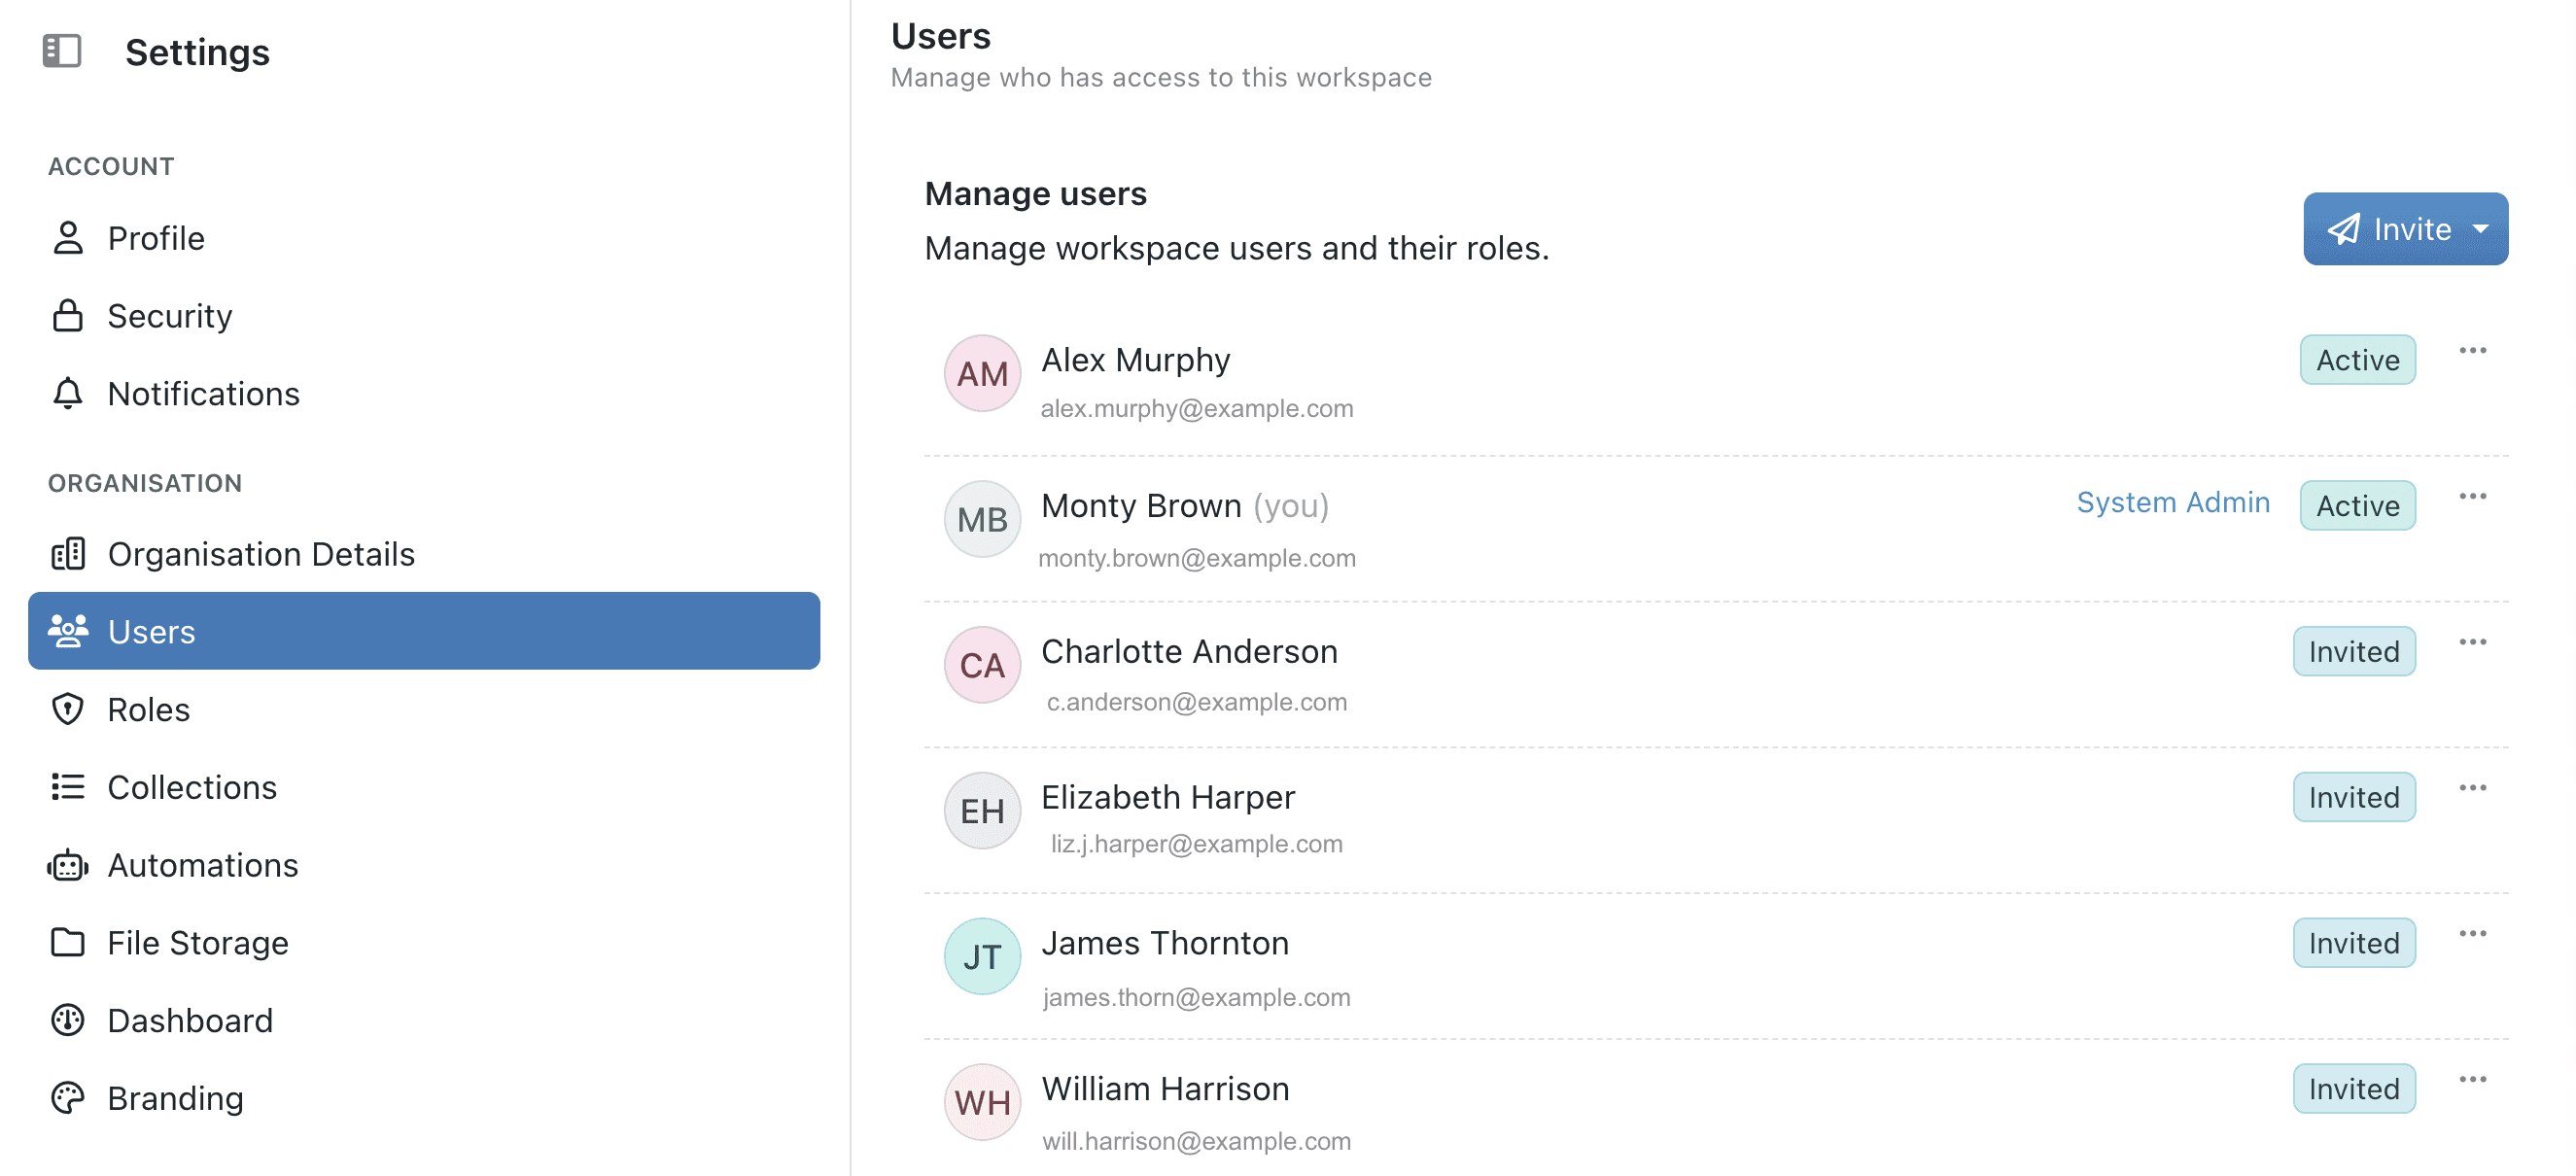
2. Click the Invite button at the top of the page. You can either invite via an email, or from your Microsoft account.

3. Enter Name and Email, and select any Roles (e.g., 'Marketing', 'HR') or Administrative Access (e.g., 'System Admin', 'Billing Admin') if needed.

4. Click OK to send an invitation.

To learn how to create roles, check out our guide on Assigning Roles & Permissions
Permission.A specific right to view, edit, delete, or administer parts of Kinabase, granted via Roles.
- The new user will receive an email with a link to set up their Kinabase account.
- Once they're registered, their status changes from Invited to Active, and they appear in both the User Settings page and the Colleagues Collection.
Managing Licenses
Each active user in Kinabase has a license. When you invite a new user, you'll see a notification
If a user no longer needs access, you can deactivate them in User Settings, freeing up a license for someone else.
By inviting the right people and managing licenses effectively, you unlock Kinabase's full collaborative power - giving everyone secure, real-time access to your most important data.
If you need help, our Cambridge-based support team is here to assist.