
Creating Collections
Add new collections with AI-powered or manual setup
A Collection
New to Kinabase? Follow our Create Your First Collection tutorial for a guided, beginner-friendly walkthrough. This article is a complete reference covering every way to add collections.
1. Starting the wizard
1. Click + Add Collection
Look at the bottom-left of your sidebar and select + Add Collection. This button is only visible to System admins.
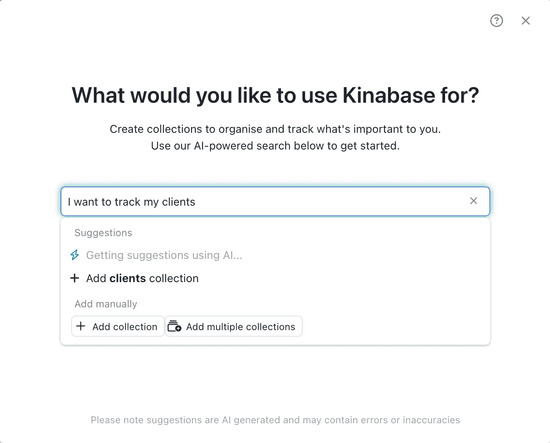
Kinabase opens the Add collections wizard, which offers three starting points: AI-powered setup, manual setup, or starting from an existing spreadsheet or scanned document.
2. AI-powered setup
1. Describe what you want to track
Type a brief sentence about what you want to track - for example, "I want to manage my client contacts" or "I need a projects list."
2. Review the AI suggestions
Kinabase proposes collections and fields based on your description.
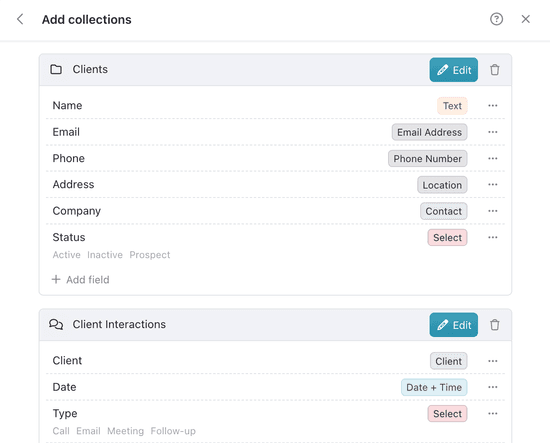
If the suggestions look good, click Add Collections to finish. If you need changes, rename or remove items before finalising.
Please note suggestions are AI generated and may contain errors or inaccuracies - always review them before adding.
3. Manual setup
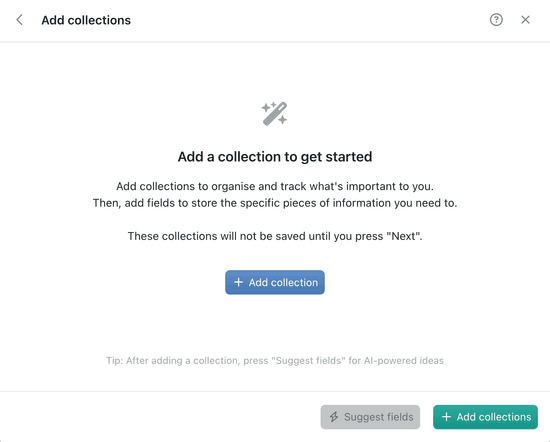
If you prefer more control, or already know exactly what you want, build your collection by hand. The manual form steps through Details, Fields, Workflows, and Features.
1. Add details
Type a name (e.g. "Suppliers") and select an icon and colour to help you identify the collection at a glance.
2. Add fields
Click Add field for each column you need - a clear name (e.g. "Contact Email", "Budget") and a field type (Text, Number, Select, Date, and so on). See Fields for the full list of types.
3. Configure a workflow (optional)
Turn workflows on if you want records to move through stages, such as Draft → In Review → Approved. See Workflows.
4. Turn on extra features
Decide whether this collection needs Activity

You can change any of these settings at any time - start with what you need now and expand later.
4. Creating several collections at once
Both the AI-powered and manual routes support adding multiple collections in one pass - for example, "Add collections for Clients, Projects, and Invoices." Each collection gets its own fields, and the wizard's final button reads Add Collections when you're creating more than one.
5. After creation
Your new collection appears in the sidebar, ready for its first records. From here:
- Refine its settings - permissions, more fields, extra features - in Configuring Collections.
- Organise where it sits in the sidebar in Managing Collections.
Need more help? Ask your System admin, or contact our support team via Help & Support.