
Create Your First Collection
A guided walkthrough for setting up your first collection
This guide walks you through the simplest way to set up your first Collection
You'll need to be a System admin to add a collection. If the Add Collection button isn't visible to you, ask your System admin.
1. Open Add Collection
Click + Add Collection at the bottom of your sidebar. A panel opens, asking "What would you like to use Kinabase for?"
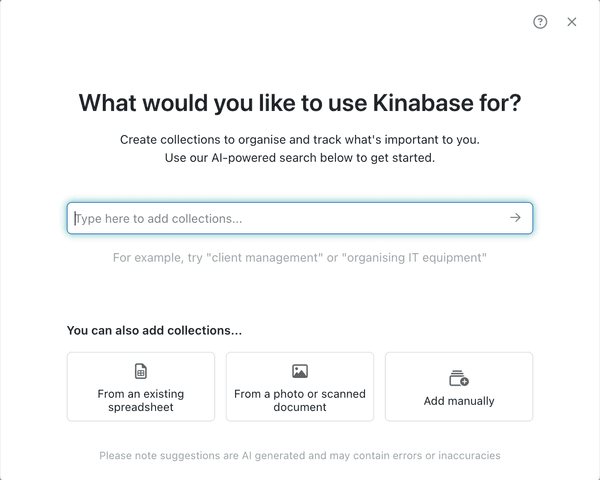
2. Describe your use case
Type a short sentence describing what you want to track - for example, "I want to track my clients."
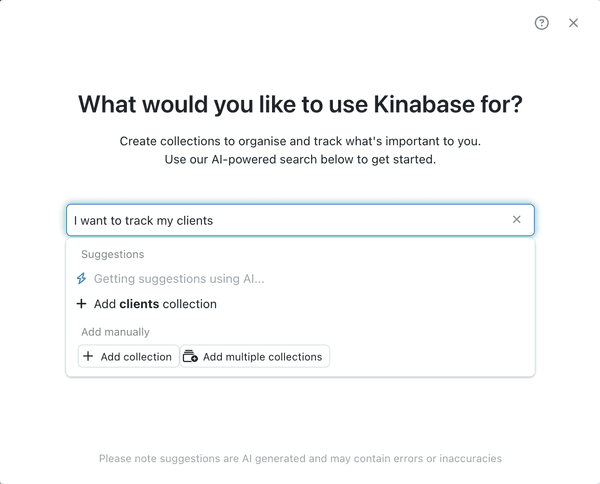
You can also skip the description and select From an existing spreadsheet or From a photo or scanned document to have Kinabase generate a collection from a file instead.
3. Review the AI-powered suggestions
Kinabase proposes collections and fields based on your description.
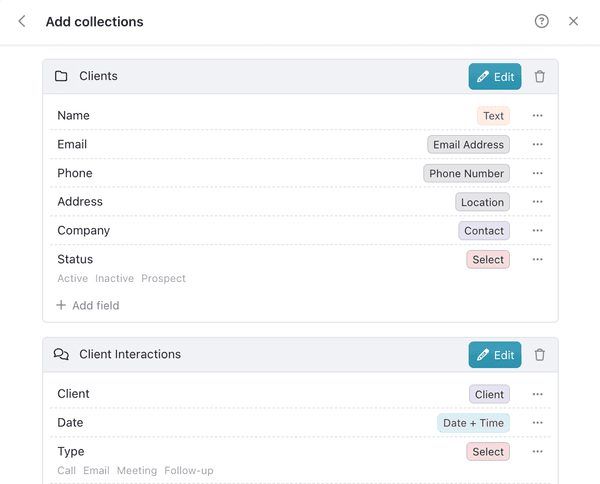
Suggestions are AI generated and may contain errors or inaccuracies - always review them before confirming.
4. Confirm or adjust
Rename any collection or field, or remove anything you don't need, using the options menu (⋯) next to it. You can also click Edit next to a collection name to turn on extra features, such as Activities
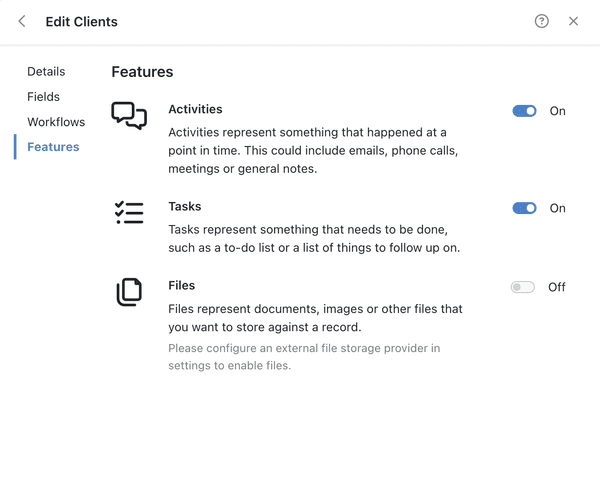
None of this is final - you can rename, add or remove fields and features at any time from the collection's Configure panel.
5. Click Add Collections
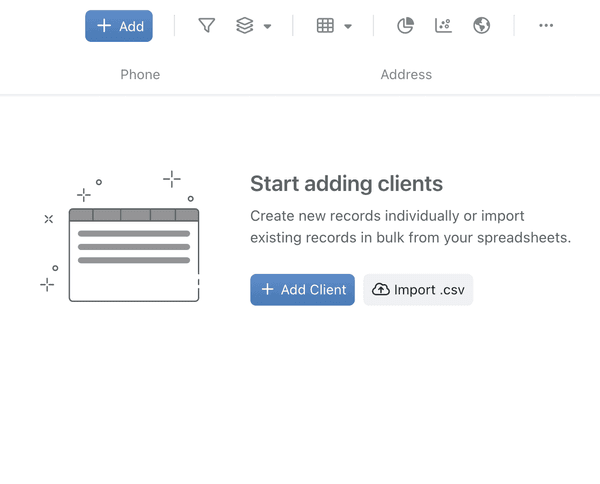
Your new collection appears in the sidebar, ready for records.
6. Prefer manual setup?
If you'd rather build a collection field by field, select Add manually from the same panel, give it a name and icon, and add fields one at a time. This gives you full control from the start, at the cost of a slower initial setup.
For the complete reference on collections - manual setup, types, lists, permissions and more - see Creating Collections.
That's it. With your first collection set up, you're ready to start adding records - either manually, or by importing data from a CSV file.
Need more help? Ask your System admin, or contact our support team via Help & Support.